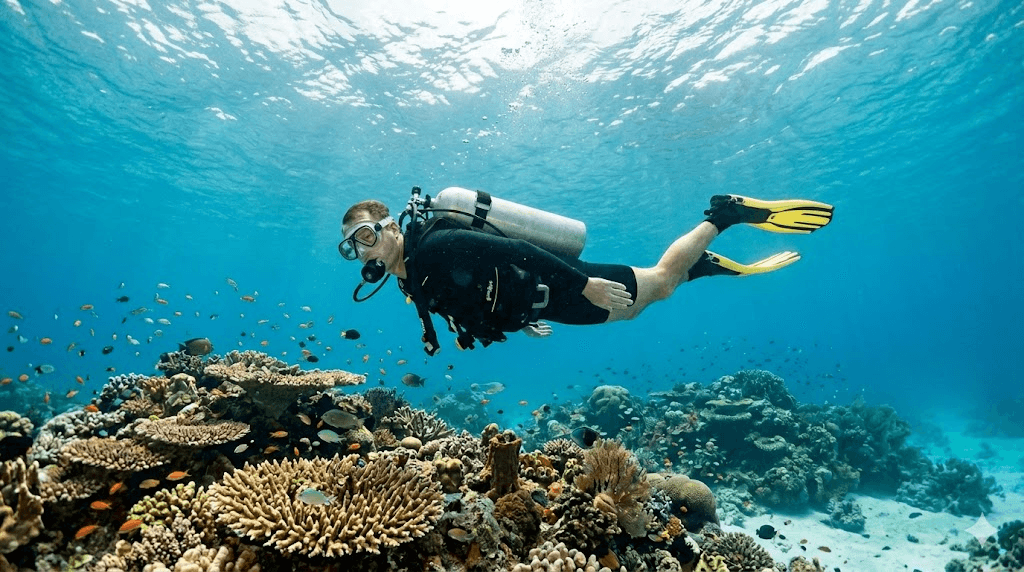
A new diver hovers over a coral reef. They sink slowly, fins dragging across a brain coral, then kick madly upward, sucking gas from the regulator at a frantic pace. A few metres away an experienced diver glides motionless twenty centimetres above the same reef, barely breathing, while a curious wrasse drifts toward them. Buoyancy is not a talent you are born with. It is a technique built on physics and repetition — and once you own it, every dive changes.
This guide takes you from the gas laws under the skill, through a repeatable weighting protocol, into trim and propulsion, and finally to the drills instructors use to fast-track it. Read it once and you should not need to Google anything else on buoyancy.
Why Buoyancy Is a Safety Skill, Not a Cosmetic One
Recreational divers often treat buoyancy as polish — something that makes you look good underwater. In reality it sits at the centre of three hard safety outcomes.
Reef contact. Accidental contact can damage coral and other marine life. DAN includes avoiding contact with the environment among the practical benefits of good buoyancy control.
Gas consumption. Constant kicking and repeated BCD corrections increase effort, which can increase gas use. The effect varies by diver, equipment, and conditions, so monitor your own pressure rather than relying on a universal number.
Uncontrolled ascent. Excess weight requires more gas in the BCD. As pressure falls on ascent, that gas expands and must be vented to keep the ascent controlled. DAN identifies rapid ascent as a risk factor for lung overexpansion injury, arterial gas embolism (AGE), and decompression illness.
Note the precise terminology, because the two injuries above are different. DCS involves dissolved inert gas forming bubbles as pressure falls. AGE can follow lung overexpansion when expanding gas is not allowed to escape during ascent. A controlled ascent, continuous breathing, and following your training and computer are important preventive measures.
The Physics in 90 Seconds
Archimedes' principle is the foundation: you sink when you weigh more than the water you displace, you float when you weigh less, and neutral buoyancy is the equilibrium where the two are equal. Your goal on every dive is to spend as much time as possible at that equilibrium and to make corrections smoothly when conditions move you off it.
Three variables shift your buoyancy continuously. Controlling them in the right order is the whole game.
1. Lung volume — your fine, real-time control. Every inhale adds gas volume to your chest and tends to lift you; every exhale does the opposite. Use normal, continuous breathing for small corrections and allow a brief delay before making another adjustment. Never hold your breath while scuba diving.
2. Exposure suit compression — the variable that moves. Neoprene contains gas cells that compress as pressure increases. The exact buoyancy change depends on the suit and depth, but the practical result is consistent: you tend to lose buoyancy on descent and regain it on ascent. The BCD compensates for that change.
3. The BCD — the compensator, not the lift. Its only job is to cancel the suit's changing buoyancy as you move through the water column, plus the gas you breathe out of your cylinder over the dive. It is not a tool for hauling an overweighted diver off the bottom. Get the weight right first and the BCD does very little work.
What changes your buoyancy during a dive
🫁
Breathing
Inhale tends to lift · Exhale tends to lower. Breathe continuously and allow a brief response time.
🦺
BCD
Add gas to offset suit compression at depth — small puffs only.
🏋️
Weight
Set correctly at the surface — not a dial you turn mid-dive.
One more variable is the cylinder. It becomes lighter as gas is consumed, but its full and near-empty buoyancy depends on the exact model, material, valve, and gas pressure. Use manufacturer data as a starting point and confirm your weighting near the end of a supervised dive; do not copy a generic kilogram value.
The Most Common Mistake: Overweighting
Overweighting is common enough that DAN treats proper weighting as the starting point for buoyancy control. Re-check it whenever your exposure suit, cylinder, water type, or other equipment changes.
The mechanism is self-defeating. Excess lead requires more gas in the BCD to become neutral. That larger gas volume changes more as depth changes, while an upright, high-drag position increases effort. The result can be more corrections and higher gas use, but the amount differs from dive to dive.
A correctly weighted diver, by contrast, ends the dive able to hold a 5 m safety stop with an almost empty wing, controlling depth on the breath alone.
How to Find Your Real Weight
The end-of-dive confirmation matters because the surface check is done on a heavy, full cylinder. A diver who sets weight once and never re-checks tends to feel floaty at the safety stop, then "fixes" it by adding more lead next time — driving the spiral deeper. Always trim weight using the end-of-dive feel, not the giant-stride feel.
Where the Lead Comes From, and Where It Goes
Weight is not just how much but where. Splitting lead between ditchable pockets and fixed trim positions lets you tune balance. Keep a portion ditchable for a genuine emergency, but resist the reflex to pile everything into front weight pockets — that pivots your hips down and forces a head-up, feet-down posture.
Cylinder values are model-specific
Steel and aluminium cylinders can have very different full and near-empty buoyancy. Check the exact model specification and verify the complete configuration in the water with a qualified professional.
Mastering BCD Control
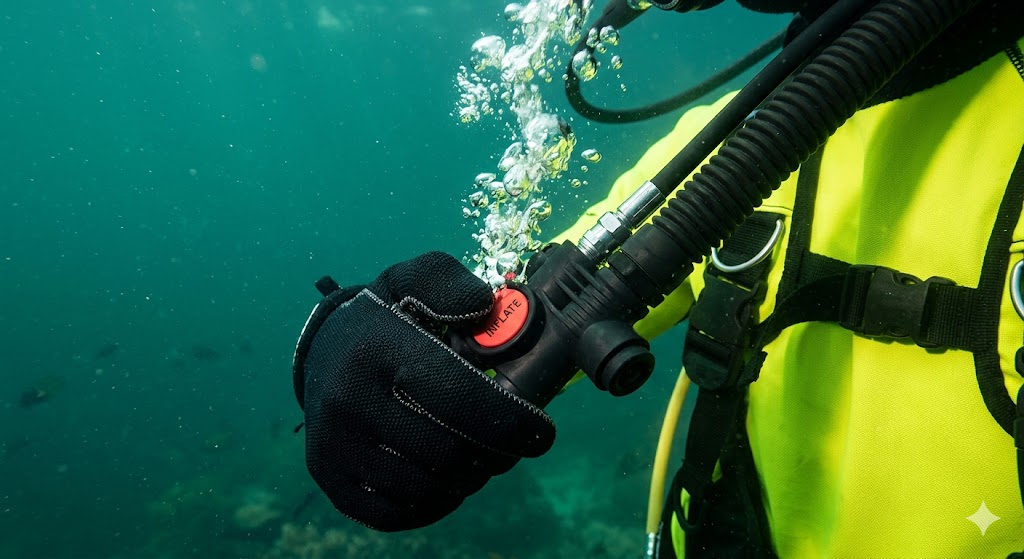
The BCD is the compensator. Treat it as the tool of last resort for depth corrections and the primary tool for offsetting suit compression — that distinction is everything in practice.
Descending. As your suit compresses you lose buoyancy. Add gas in small increments, pause to feel the response, and then decide whether another adjustment is needed.
Holding depth. Once neutral, stop touching the inflator. Manage small corrections with your breath. If you are reaching for a button every few seconds, your weighting or your awareness is off, not your BCD.
Ascending. Gas in the BCD expands as pressure drops, so vent it as needed to keep the ascent controlled. Follow the ascent-rate limit from your training and dive computer; DAN notes that agency recommendations vary. Know which dump valve is highest for your body position and practise using it with an instructor.
Critical: the wrong-button reflex
Under stress, a diver rising too fast may stab the inflate button instead of venting — accelerating the very emergency they are fighting. Build the muscle memory on the surface: locate the dump valve by feel, eyes closed, before the first dive of the day. If an ascent gets away from you and you cannot vent in time, flare out (arms and legs wide) to add drag, and exhale continuously to protect your lungs.
The Hover Drill
The single best BCD-discipline exercise. Find a sandy patch at 3–5 m, get neutral, fold into a stable horizontal position, and hold depth for three minutes on breathing alone — no inflator touches allowed. It forces you to feel your lung-volume buffer and shows you how much control actually lives in the breath. Progress to the same hover with eyes closed, then to holding it while doing a simple task (clipping a light, reading your gauge).
Trim and Fin Technique
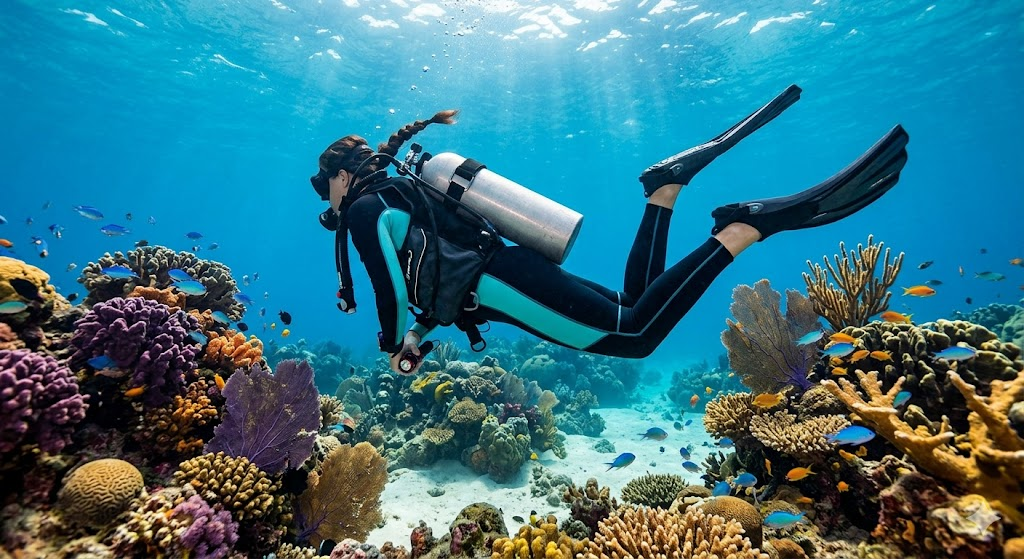
Neutral buoyancy with bad trim still wrecks reefs. Trim is your body's orientation in the water; the target is flat and horizontal, parallel to the bottom, with the fins very slightly elevated above the body's plane so any wash they produce goes backward and up — never down onto the substrate. The classic streamlined posture is the "skydiver" or flat hover: relaxed arch, hips up, knees bent ~90°, fins cocked high.
Tune trim before you splash, not for 45 minutes underwater:
- Cylinder height on the backplate / band. Slide the cylinder up and your feet drop; slide it down and your head drops. This is the single biggest trim lever — adjust it on the boat.
- Lead distribution. Front-heavy integrated pockets push the hips down. Move a kilo or two to trim pockets on the cylinder band (or a weighted backplate / steel cylinder) to lift a head-up tilt.
- Persistent feet-up. Often light, buoyant legs in a thick suit; small ankle weights or moving lead higher can level you. Use sparingly — they add fatigue.
Propulsion: Kick Like You Care About the Reef
Do — frog kick
Slow, wide, deliberate strokes with feet turned out, thrust directed straight back and slightly up. No downwash, no silt. The default propulsion for trim-aware divers — and the basis of the modified frog, back kick and helicopter turn.
Avoid near the bottom — flutter kick
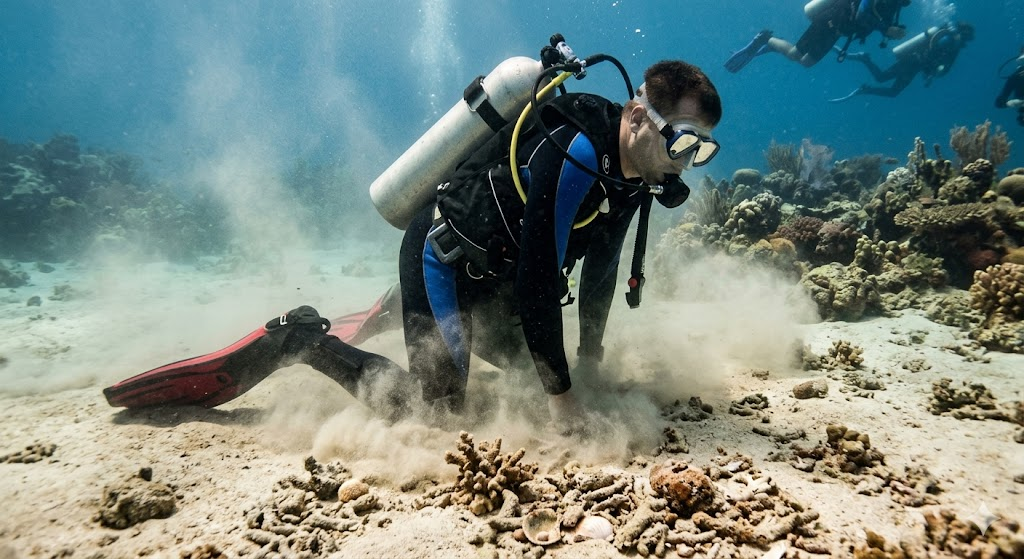
The first kick most divers learn aims a jet of water downward. Over a sandy or silty bottom it lifts a cloud that settles on everything within ~5 m, ruins visibility, and smothers coral. Fine in open water, dangerous over structure.
Two more kicks pay for themselves fast: the back kick (reverse out of a tight spot without turning around) and the helicopter turn (pivot on the spot using opposing fin sweeps). Both rely entirely on solid trim and neutral buoyancy — which is exactly why learning them sharpens the whole skill set.
What NOT to Do
Habits that quietly sabotage buoyancy
- ▸Adding lead because you "couldn't get down" on a full cylinder — you were positive at the surface by design. Vent fully and exhale instead.
- ▸Sculling with your hands to hold position. It hides a buoyancy problem and burns gas — keep hands still and fix it with breath and weighting.
- ▸Holding your breath to manage buoyancy. Never. A closed glottis on ascent risks lung over-expansion and AGE. Breathe slowly and continuously, always.
- ▸Kneeling or "standing" on the reef to take a photo. There is always a sand patch or open-water hover available — find it.
- ▸Chasing the inflator. If you adjust the BCD more than a few times after settling at depth, your weighting is wrong — re-check it.
Practice Drills and Where to Get Coaching
Good buoyancy is built through deliberate repetition, not by logging dive numbers.
- The five-coin drill. Have a buddy place five coins on a sandy patch. Pick each up while hovering, never touching the bottom. It sounds trivial; it is not. It forces precise position control instead of using the bottom as an anchor.
- Hovering meditation. At 5 m, get neutral and simply stop — no kicks, no inflator, no swivelling. Hold five minutes on breath alone. This is the breath awareness every skilled diver has internalised.
- Trim photo / video check. Have your buddy film you swimming level for 30 seconds. Watching your own feet-down tilt is more persuasive than any briefing.
For a structured path, PADI Peak Performance Buoyancy and SSI Perfect Buoyancy focus on weighting, trim, and buoyancy with instructor feedback. Other agencies offer comparable training, and some centres run confined-water clinics. Choose instruction that matches your certification and gives you direct, in-water feedback.
How to Vet a Dive Centre on Buoyancy
A good operation builds buoyancy into its routine; a careless one offloads the risk onto you and the reef. On ScubaProof, the behaviours below feed the Staff Conduct and Safety metrics that shape a centre's Trust Score — alongside Gear condition and Oxygen Readiness for emergency response.
ScubaProof red flags
- 🚩Skips the weight check entirely — hands you a guessed amount of lead and says "you'll be fine"
- 🚩Defaults every guest to heavy weighting "so everyone gets down fast" — institutionalised overweighting
- 🚩Divemaster leads from the front and never turns to check the group's buoyancy or position
- 🚩No buoyancy or descent briefing before a new diver's first dive of the trip
- 🚩The centre's own review photos repeatedly show guests kneeling or standing on the reef
Green flags — book with confidence
- ✓Runs a proper surface weight check and tunes lead after the first dive, not before
- ✓Briefs the ascent rate and any safety-stop procedure appropriate to the training, computer, and dive plan
- ✓Offers a buoyancy clinic or specialty and positions guides to watch the group, not race ahead
- ✓Carries serviced gear and emergency oxygen on the boat — visible Oxygen Readiness
Buoyancy is the one skill that touches everything else: your gas, your safety, the reef, and the quiet pleasure of hanging motionless while the ocean comes to you. Get the weighting right, ride the breath, fix the trim on the boat, and the rest of diving opens up.